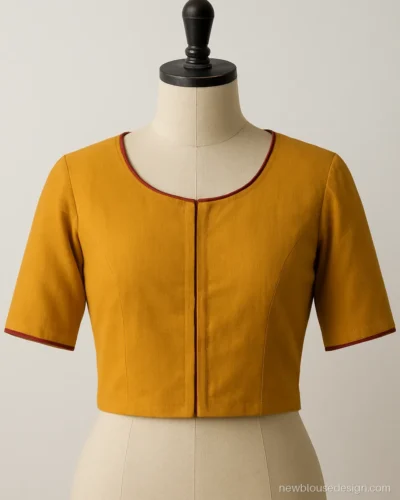
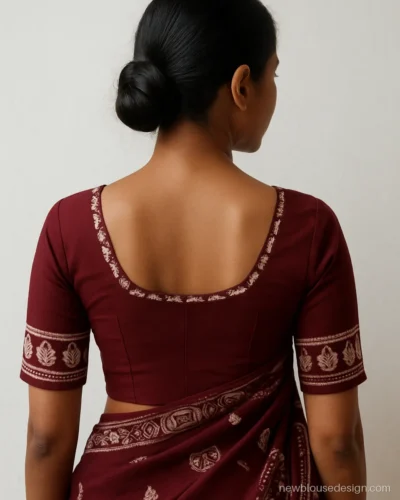
Blouse Cutting Design: A Simple Guide to Cutting and Stitching at Home
- 8 designs
- Tailoring guide
- Updated Oct 2026
A good blouse cutting design starts long before the scissors touch the cloth. It starts with honest measurements, a clear sketch and a calm hour at the cutting table. This guide walks you through the same steps a boutique tailor follows, in plain words.
We cover the measurement chart, the basic 3-dart blouse design cutting, princess cutting, back neck shapes, sleeve (hata) cutting, lining and finishing, and the fitting problems that come up most often. All numbers here are typical ranges, so always trust your own body measurements first.
Once your pattern is ready, pick a style from our blouse back design gallery or the blouse neck design page and cut with confidence.
Blouse Cutting Design Photo: Measuring and Marking
These flat lay photos show the first half of the work: measuring, sketching and marking chalk lines before any cut is made.
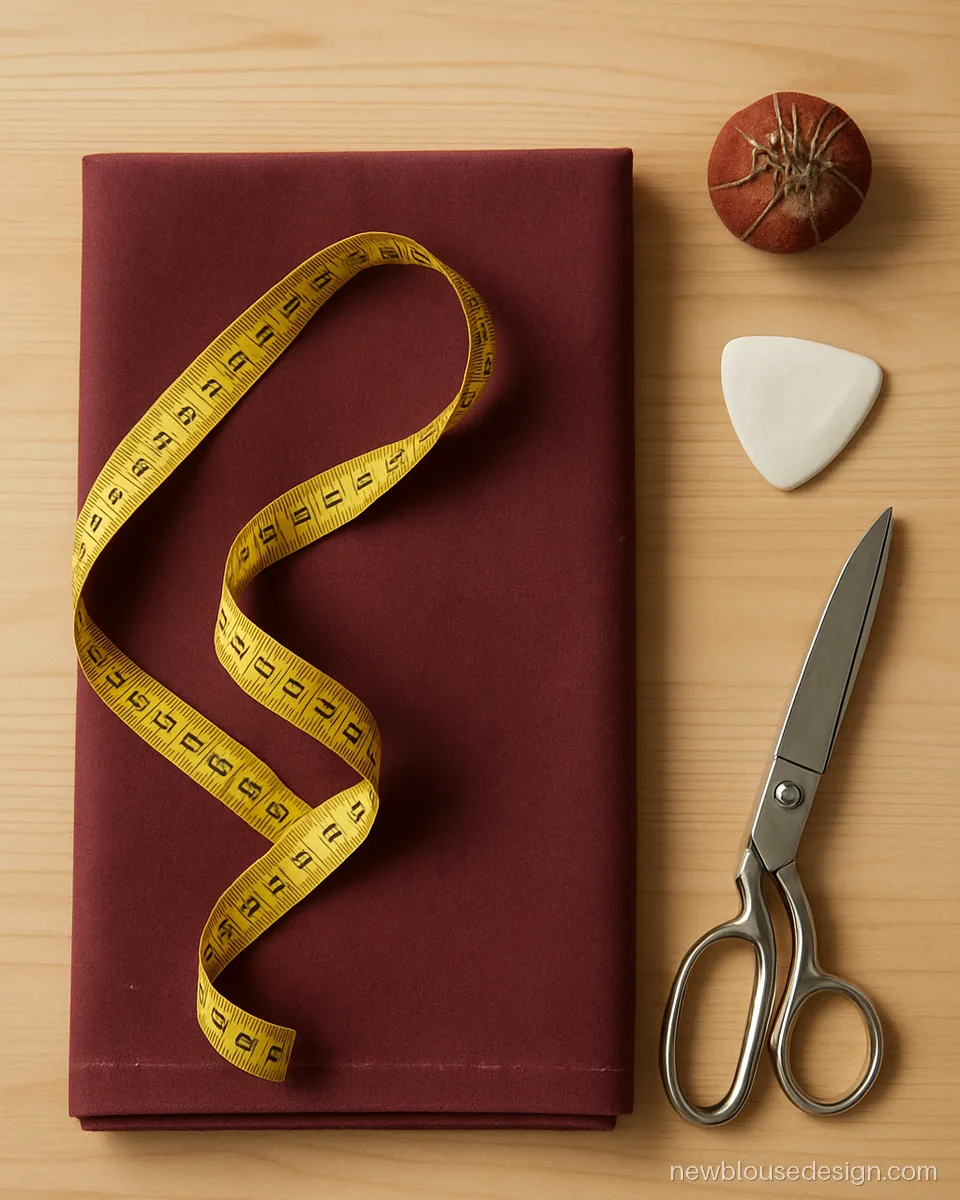
The first step of every blouse design cutting: fold the fabric with right sides together and smooth it flat. Keep the tape and chalk close so you can mark without lifting the cloth.
Tailor note: Fold along the lengthwise grain, selvedges matching, and pin every 6 inches so the layers do not slip.
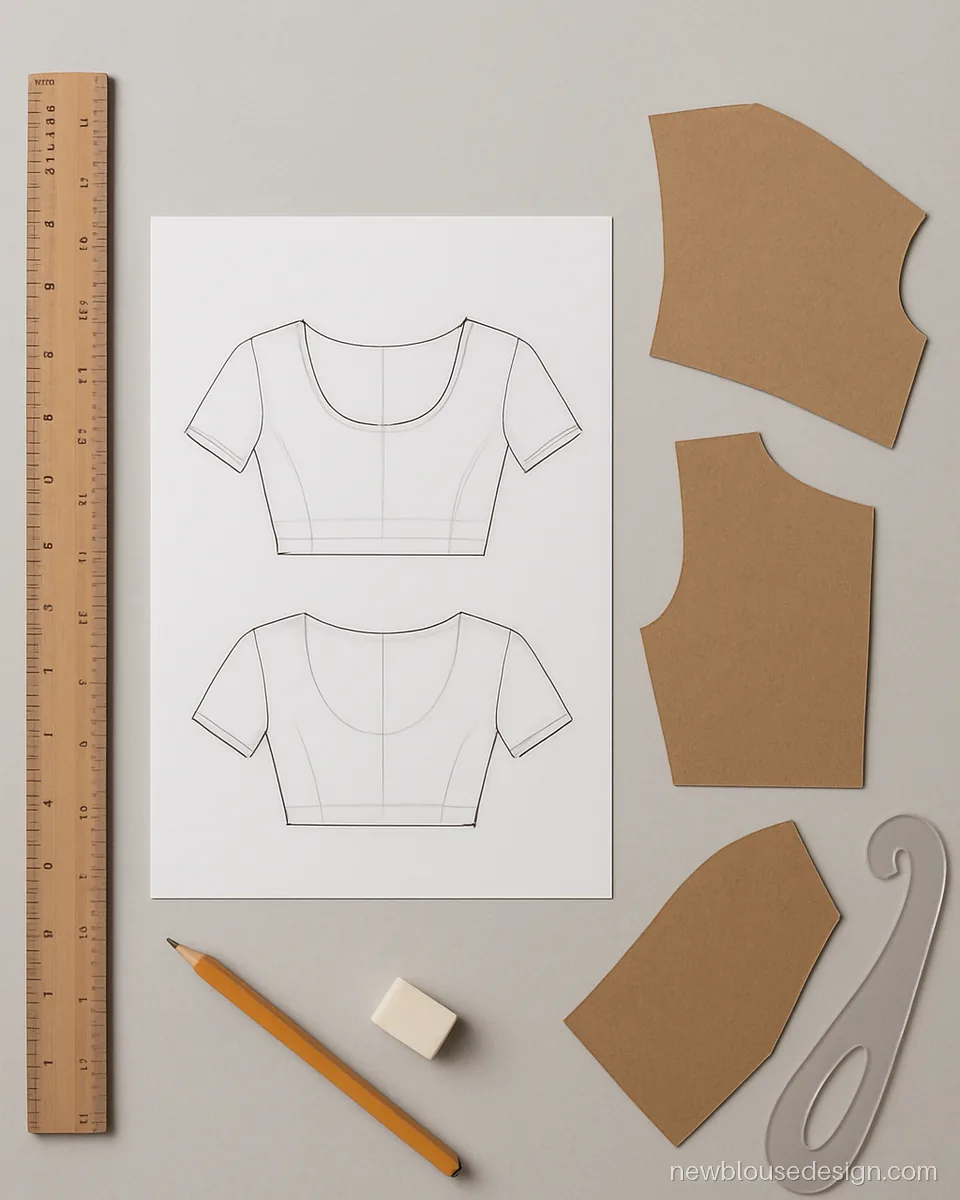
A simple sketch blouse design drawing saves fabric. Draw the front, back and sleeve on paper first, write your numbers beside each line, then cut the paper pattern.
Tailor note: Add about 1 inch seam allowance on side seams and about half an inch on necklines before cutting the paper.
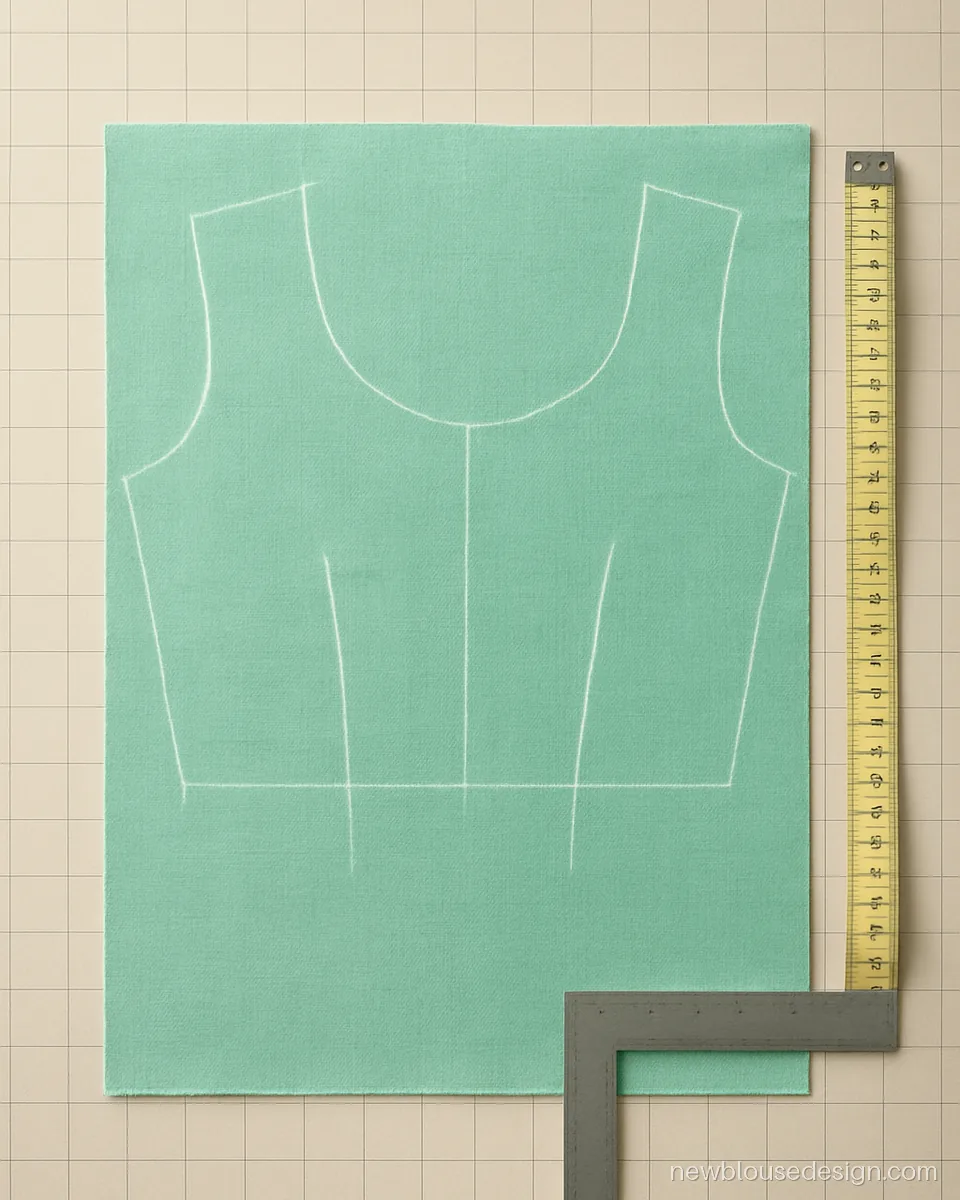
Here the front panel is marked with three darts: two under the bust and one side dart. Clear chalk lines make the stitching straight and even.
Tailor note: Mark dart points about 1 inch short of the apex so the dart tip does not poke out.
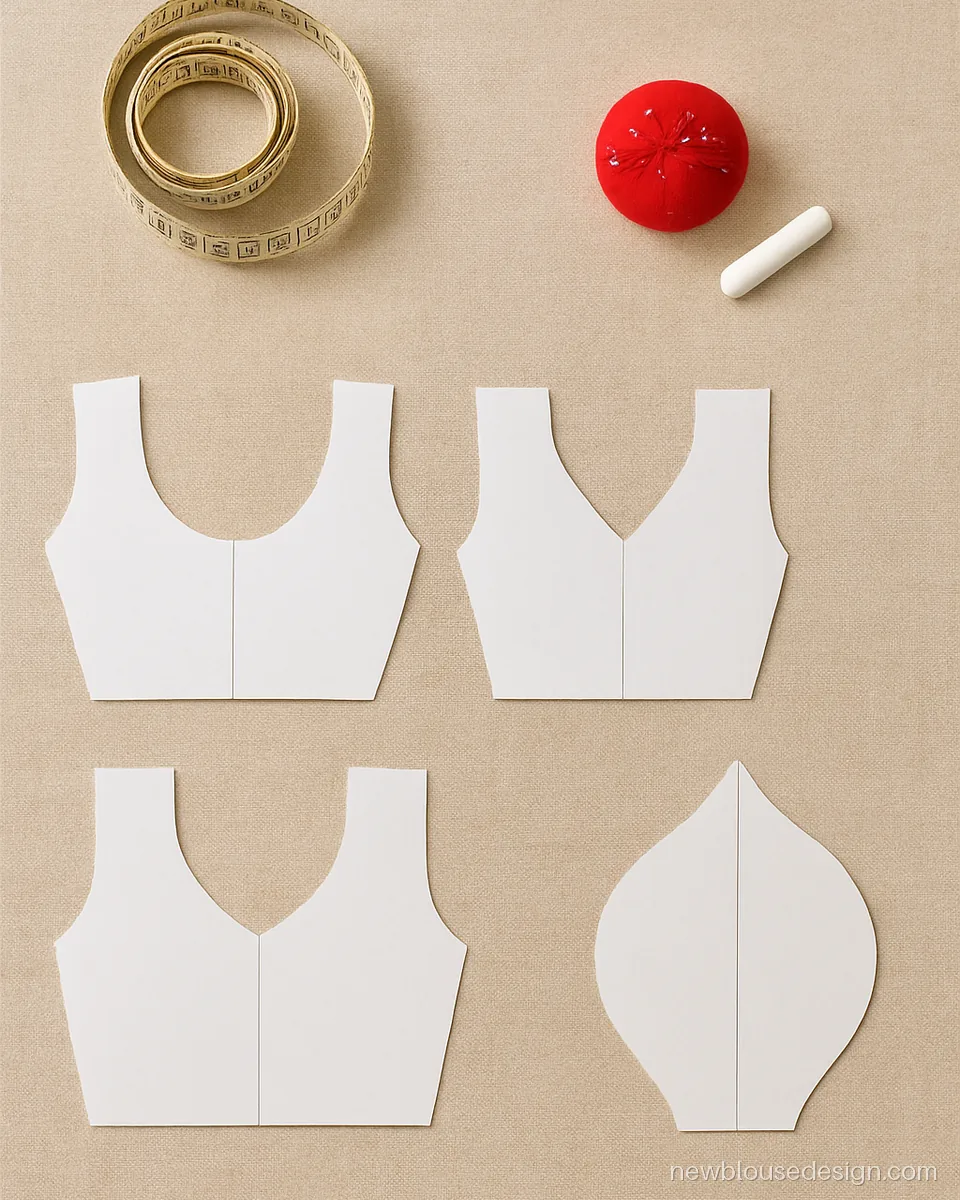
Keeping a set of back neck templates speeds up cutting. Lay the chosen shape on the folded back panel and trace, then adjust depth to the wearer.
Tailor note: Trace the back neck on the fold so both halves match; check depth on the body before cutting.
Blouse Stitching Design: Cut Panels, Sleeves and Lining
The second set shows cut panels ready for stitching, from princess panels to sleeves and the lining layer.
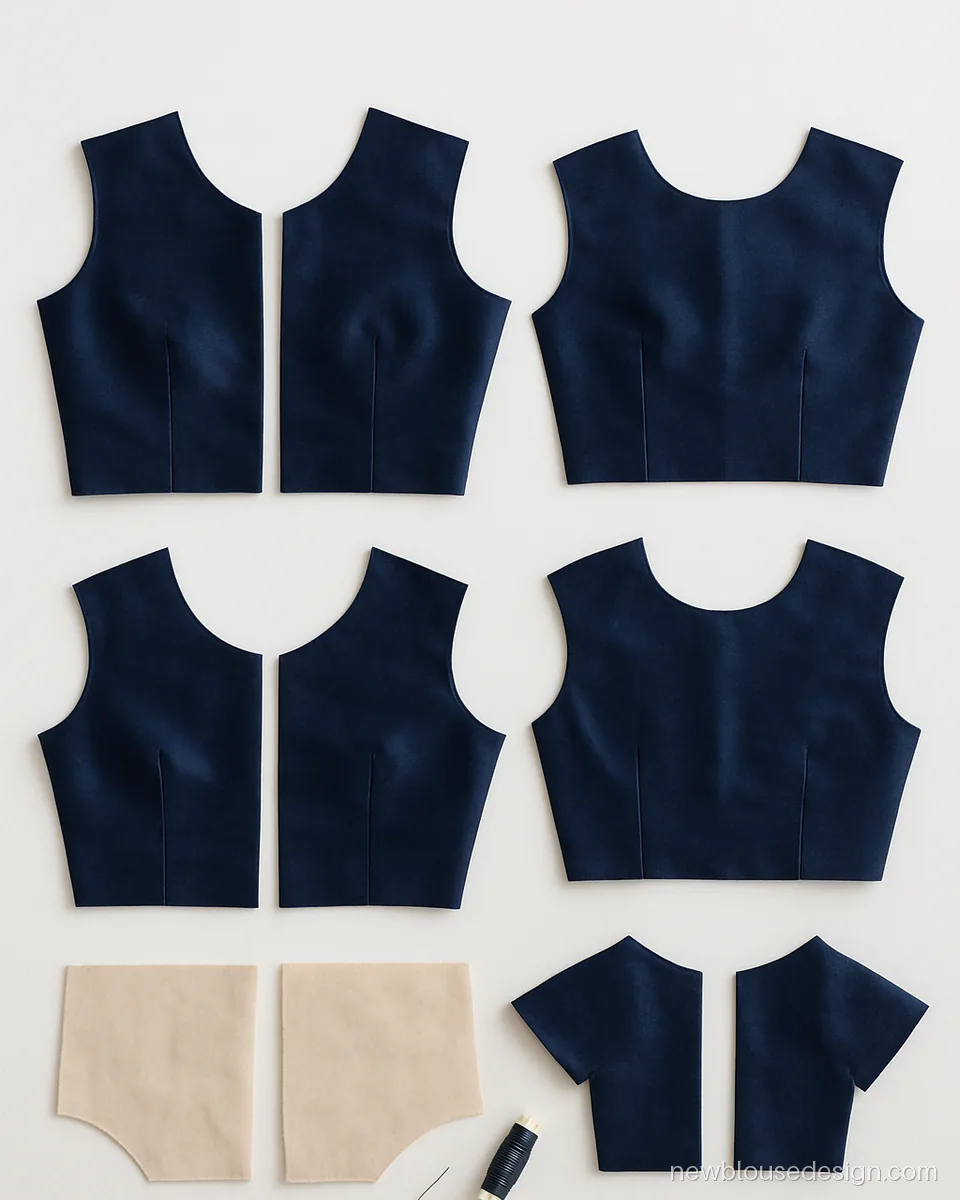
A princess cutting blouse design uses curved vertical panels in place of darts. Lay the pieces in order so you never mix up the side front and centre front.
Tailor note: Notch each princess seam at the bust point so the panels join exactly; stitch lining separately first.
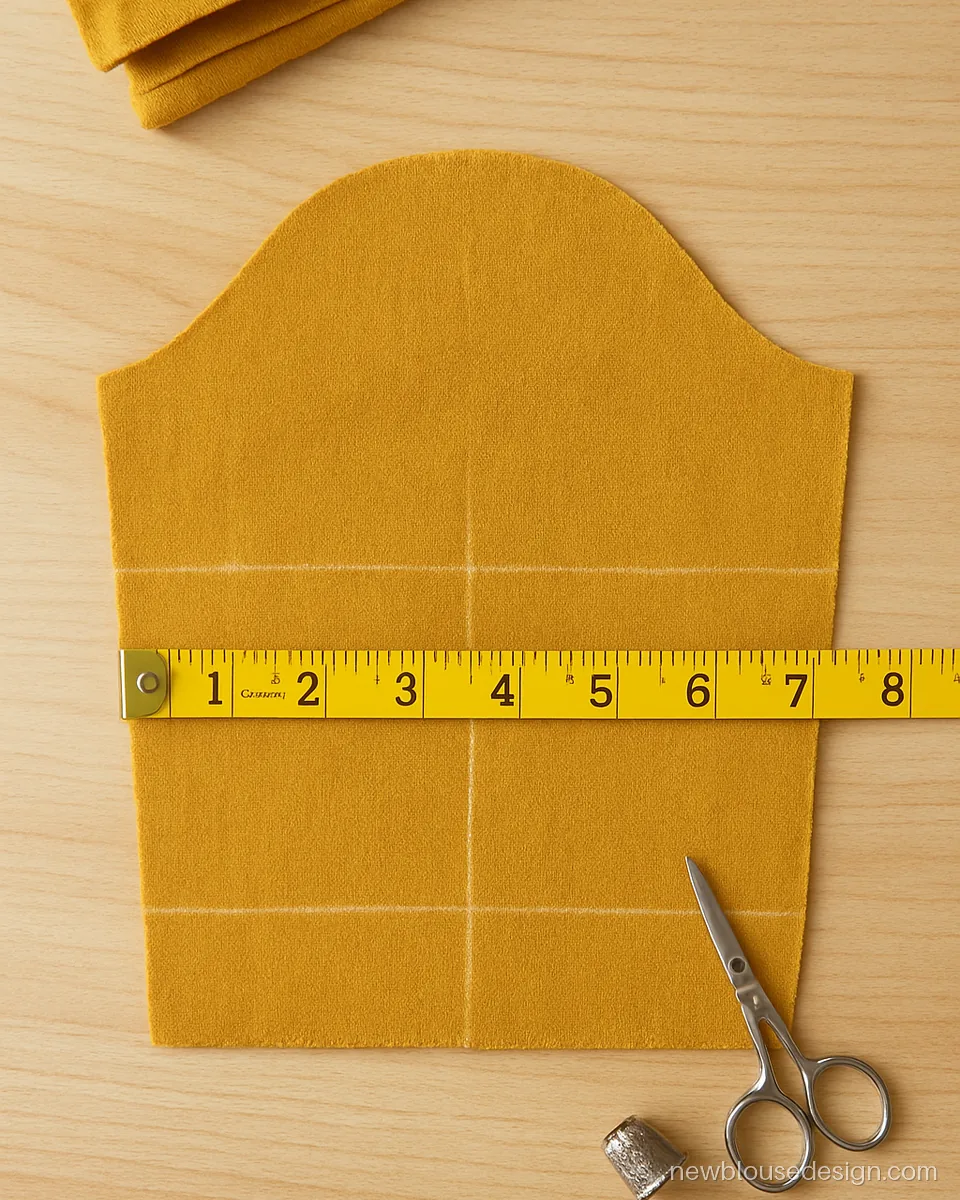
Blouse hata design cutting depends on a smooth cap curve. The front of the cap sits a little lower than the back so the arm moves freely.
Tailor note: Cut both sleeves together on the fold; mark front and back cap with a single and double notch.
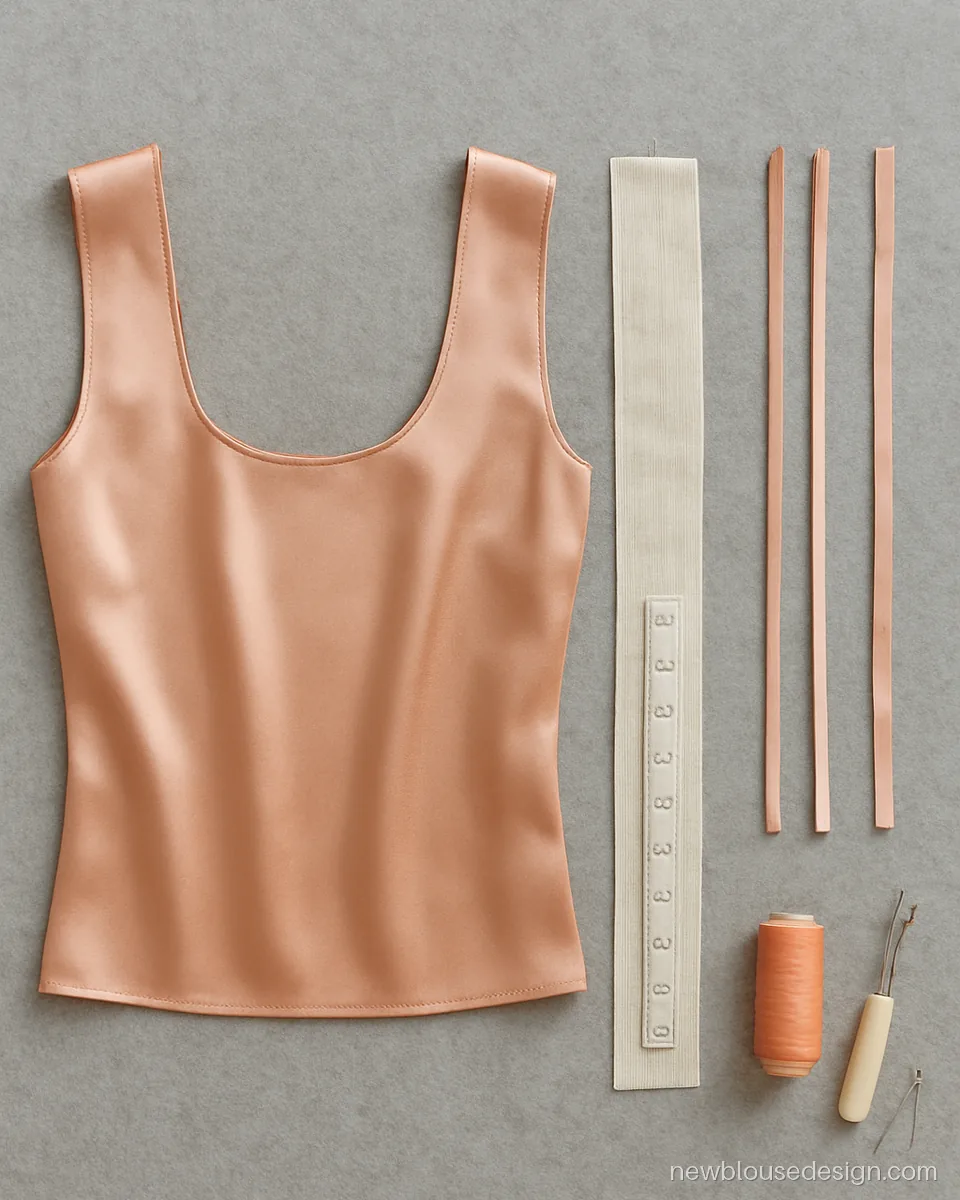
Finishing makes a blouse last. Here the back panel, lining, hook strip and bias piping are ready, so the neckline gets a clean, firm edge.
Tailor note: Cut piping strips on the bias, about 1 inch wide, so they curve smoothly around the back neck.
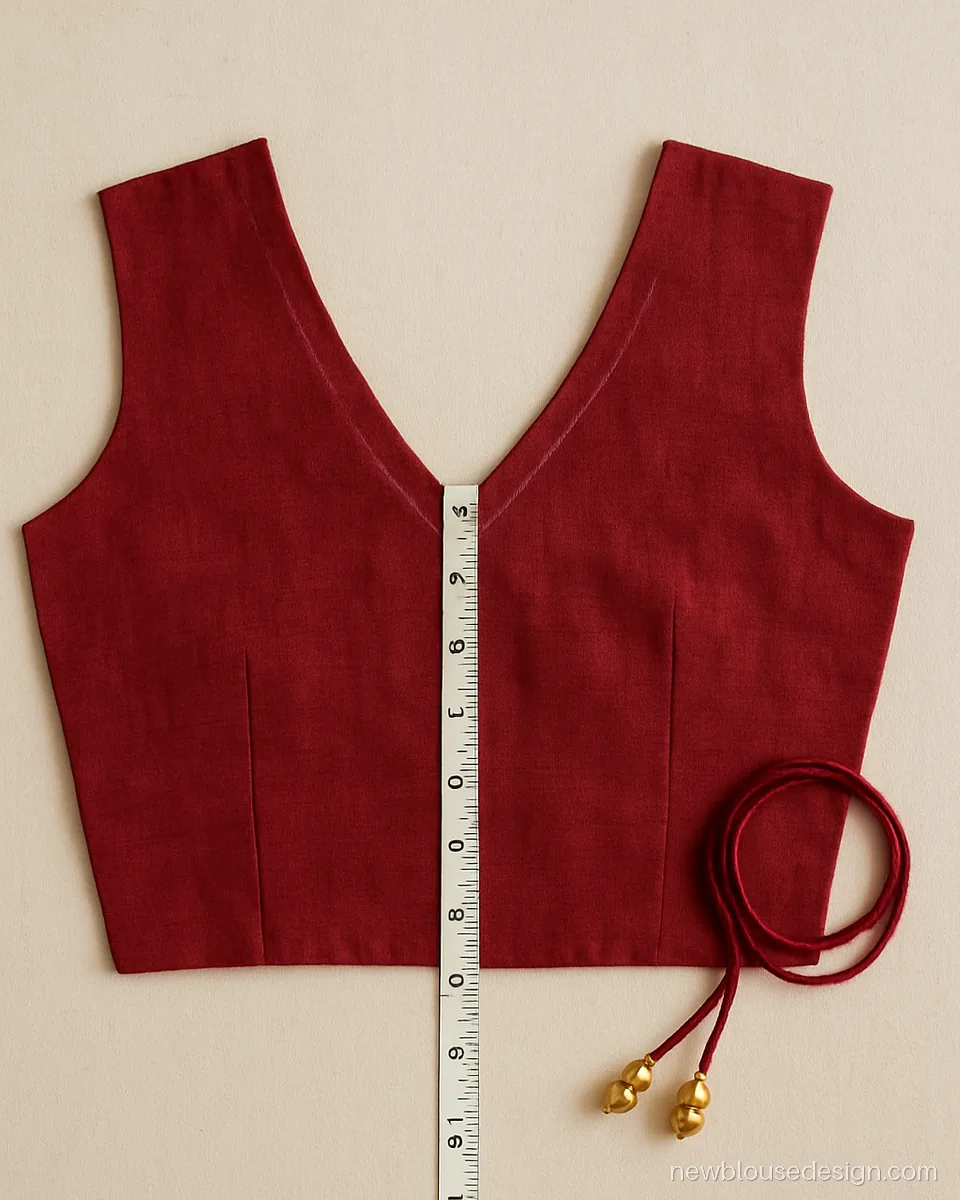
A v cutting blouse design looks sharp when both sides of the V are exactly equal. Cut it on the fold and finish with piping and a dori at the base.
Tailor note: Keep the V about 9 inches deep for party wear and add a dori loop at the point.
Measurements to Take Before Blouse Design Cutting
Take measurements over a well-fitting inner garment, standing straight and breathing normally. Keep the tape snug, not tight. Write every number down, because one wrong figure spoils the whole blouse design cutting. The table below shows typical ranges for adult women. These are only a guide. Your body is the real rule.
| Measurement | How to take it | Typical range |
|---|---|---|
| Bust (chest) | Around the fullest part of the bust | About 32 to 44 inches |
| Under bust (waist of blouse) | Just below the bust, where the blouse ends | About 27 to 40 inches |
| Shoulder | From one shoulder tip to the other across the back | About 13.5 to 15.5 inches |
| Blouse length | From the shoulder near the neck down to where the blouse should end | About 14 to 16 inches |
| Apex (shoulder to bust point) | From shoulder near the neck to the bust point | About 9 to 11 inches |
| Armhole | Around the arm, close to the armpit | About 15 to 19 inches |
| Sleeve length | From shoulder tip to where the sleeve ends | About 5 to 7 inches short, 10 to 12 elbow |
| Sleeve round | Around the arm at the sleeve hem | About 10 to 13 inches |
| Front neck depth | From the neck point down to where the gala should sit | About 6 to 8 inches |
| Back neck depth | From the base of the neck down the spine | About 7 to 9 daily, 9 to 11 party |
Tip: take the bust and armhole twice. If the two readings differ, use the bigger one and fit it later. It is easy to take in a seam and very hard to add cloth back.
Basic 3-Dart Blouse Cutting Design, Step by Step
The 3-dart blouse is where every tailor begins. It has two darts under the bust and one side dart, and it suits cotton, silk and most saree blouse pieces. A blouse piece of about 0.8 to 1 metre is usually enough for short sleeves.
- Prepare the cloth. Wash and dry cotton first, as it can shrink. Iron the piece flat and fold it lengthwise with the right side inside.
- Mark the back. Place the fold towards you. Mark blouse length, half the shoulder, armhole depth (about a quarter of the bust plus 1 inch is a common start), and a quarter of the bust plus ease at the side.
- Mark the front. The front is cut longer than the back by about 1 to 1.5 inches, because the extra length goes into the darts. Mark the apex point using your apex measurement.
- Draw the darts. Draw two waist darts below the bust and one side dart pointing towards the apex. Stop each dart about 1 inch before the apex point.
- Draw the necklines. Mark front and back neck depth and width. Keep the back neck a little wider than the front so the shoulders sit flat.
- Add seam allowance. Leave about 1 to 1.5 inches at the side seams and about half an inch on the armholes and neck. Wide side seams let you loosen the blouse later.
- Cut slowly. Use long, smooth strokes with sharp scissors. Cut the lining from the same paper pattern.
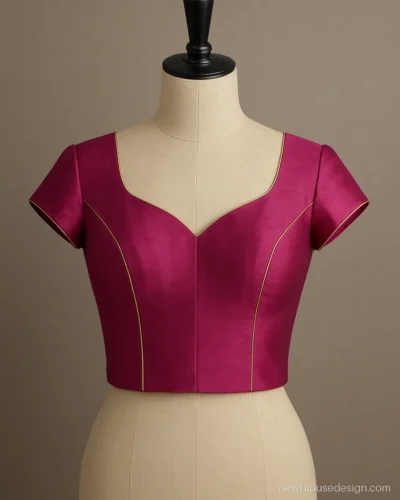
Princess cutting blouse design basics: In a princess cut, the front is split into a centre panel and two side panels. The curved seams pass over the bust point and do the work of the darts. This gives a smooth, sculpted fit and suits silk, brocade and heavy lehenga blouses. Some tailors call it the prince cutting style, and it is the latest design blouse cutting choice in many boutiques right now. Notch the bust point on both panels so they line up when you stitch. See finished examples on our princess cut blouse design page.
Blouse Back Cutting Design: How to Cut Neck Shapes
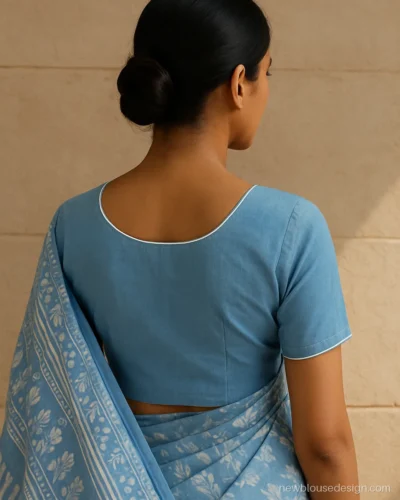
The back neck is where most of the design lives, so cut it with care. Always cut the back neck on the fold, so the left and right halves match perfectly.
- Round and U neck: Mark the depth on the centre fold and the width at the shoulder, then join them with a smooth curve. A French curve ruler helps.
- V cutting blouse design: Join the shoulder point straight to the depth point. A deep V usually needs a dori or a hook at the base to stay in place.
- Square neck: Draw a straight line down from the shoulder, then a straight line across. Clip the corners carefully before turning the facing.
- Paan or leaf neck: Start like a U, then add a small point at the bottom. Mark it on paper first, as it is easy to cut lopsided.
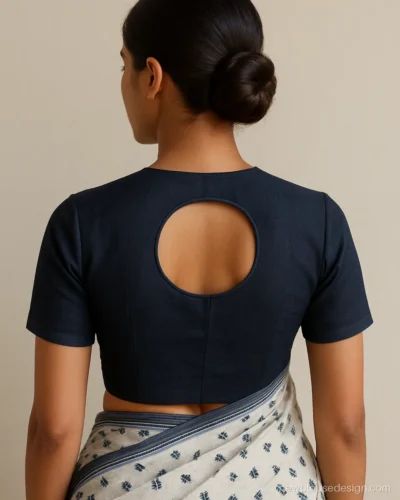
- Keyhole: Cut a normal round neck, then mark a small teardrop below it with about 2 inches of fabric in between.
Depth guide: about 7 to 9 inches suits daily wear, and about 9 to 11 inches suits party wear. Anything deeper usually needs padding and a dori so the blouse does not slip off the shoulders. Also keep the shoulder strap at least about 2 inches wide for a deep back. Our blouse back neck design gallery has many shapes to copy.
Blouse Cutting Hand Design: Sleeves Made Easy
In Hinglish, the sleeve is the hata, baju or hand. A neat blouse cutting hand design depends on two numbers: the cap height and the sleeve round.
- Fold the fabric and mark the sleeve length from the top.
- Mark cap height. About 3 to 4 inches is common for a fitted short sleeve. A higher cap gives a neater fit, a lower one gives more movement.
- Mark half the sleeve round at the hem, plus about half an inch of ease.
- Draw the cap curve. Keep the front curve slightly deeper than the back. Your armhole measure and cap curve length should match closely.
- Add about half an inch seam allowance and about 1 inch hem.
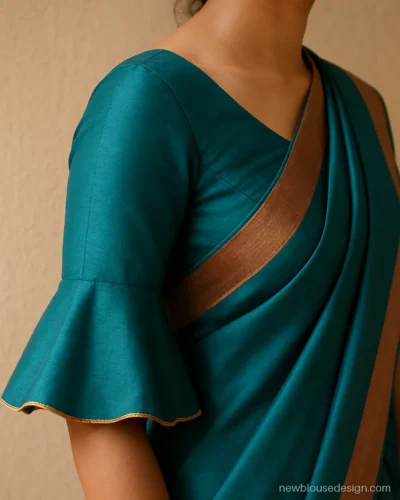
For a modern blouse hand design cutting, start from this basic sleeve and change it. Slash and spread the cap for a puff. Add a flared circle piece at the hem for a frill. Cut a slit on the outer arm for a cut sleeve. For half sleeves and elbow sleeves, add a small dart or ease at the elbow so the arm bends easily. Browse our blouse sleeves design page for ideas.
Lining, Stitching and Finishing
Good finishing is what makes a home blouse stitching design look boutique-made. Even the simplest blouse stitch design looks rich when the inside is clean.
- Lining: Use soft cotton lining for silk, net, brocade and georgette. Cut it from the same pattern. Net and organza need either a full lining or a planned sheer sleeve.
- Stitch order: Darts first, then shoulder seams, then neck facing or piping, then sleeves, then side seams in one go from sleeve hem to blouse hem.
- Closures: Front hooks are the classic choice. A side zip gives a smooth front for princess cut and lehenga blouses. Back hooks suit high necks.
- Piping: Cut piping strips on the bias. Piping on the neck and sleeve hem stops stretching and adds a neat line.
- Padding: Add cups or light padding for deep backs, backless styles and thin fabrics.
- Margins: Do not trim side seams too close. Overlock or zigzag them and leave room for later changes.
Press every seam as you go. Pressing is half of tailoring.
Common Fitting Problems and Easy Fixes
| Problem | Usual cause | Fix |
|---|---|---|
| Back neck gapes | Back neck too wide or too deep | Add a small dart at the neck, or a dori to pull it in |
| Blouse rides up when arms lift | Armhole too low or sleeve cap too high | Raise the underarm point slightly, lower the cap |
| Wrinkles above the bust | Apex point marked too high | Move dart tips lower by about half an inch |
| Shoulder slips off | Shoulder too wide or neck too wide | Take in the shoulder seam, narrow the strap |
| Sleeve feels tight | Sleeve round too small | Let out the sleeve seam from the extra margin |
| Front lifts at the hem | Front length too short | Add a band at the hem or recut with more front length |
Always do a trial fitting with the side seams basted before final stitching. If you prefer ready designs, see our simple blouse design page, which is easy for a first project.
Questions women ask
What is the easiest blouse cutting design for beginners?
Start with a 3-dart blouse with a round front neck, a U back neck and short sleeves. It uses simple straight lines and curves. Practise on cheap cotton before you cut silk.
How much fabric do I need for blouse design cutting?
A blouse piece of about 0.8 to 1 metre is usually enough for short or elbow sleeves. Full sleeves, princess cut or a bigger bust may need about 1.2 metres. Buy a little extra for piping and latkans.
What is the difference between 3-dart and princess cutting blouse design?
A 3-dart blouse shapes the bust with small folded darts. A princess cut uses long curved panel seams instead, which gives a smoother fit. Princess cut takes more time but looks very neat on silk and lehenga blouses.
How deep should the back neck be when cutting?
Usually about 7 to 9 inches for daily wear and about 9 to 11 inches for party wear. Measure on the body before cutting. Deeper backs need a dori, hooks or padding for support.
Can I do blouse hata design cutting without a pattern?
Many experienced tailors cut sleeves straight on the cloth with chalk. For beginners, a paper pattern is safer. Check that the cap curve length matches your armhole before you cut.
Why does my blouse feel tight under the arms?
The armhole is usually cut too high or too small. Open the side seam near the underarm and let it out a little from the extra margin. Next time, add about half an inch more ease at the armhole.